The SWEETEST Irish Cob horse convinced me to sew a Victorian riding habit

The SWEETEST Irish Cob horse convinced me to sew a Victorian riding habit
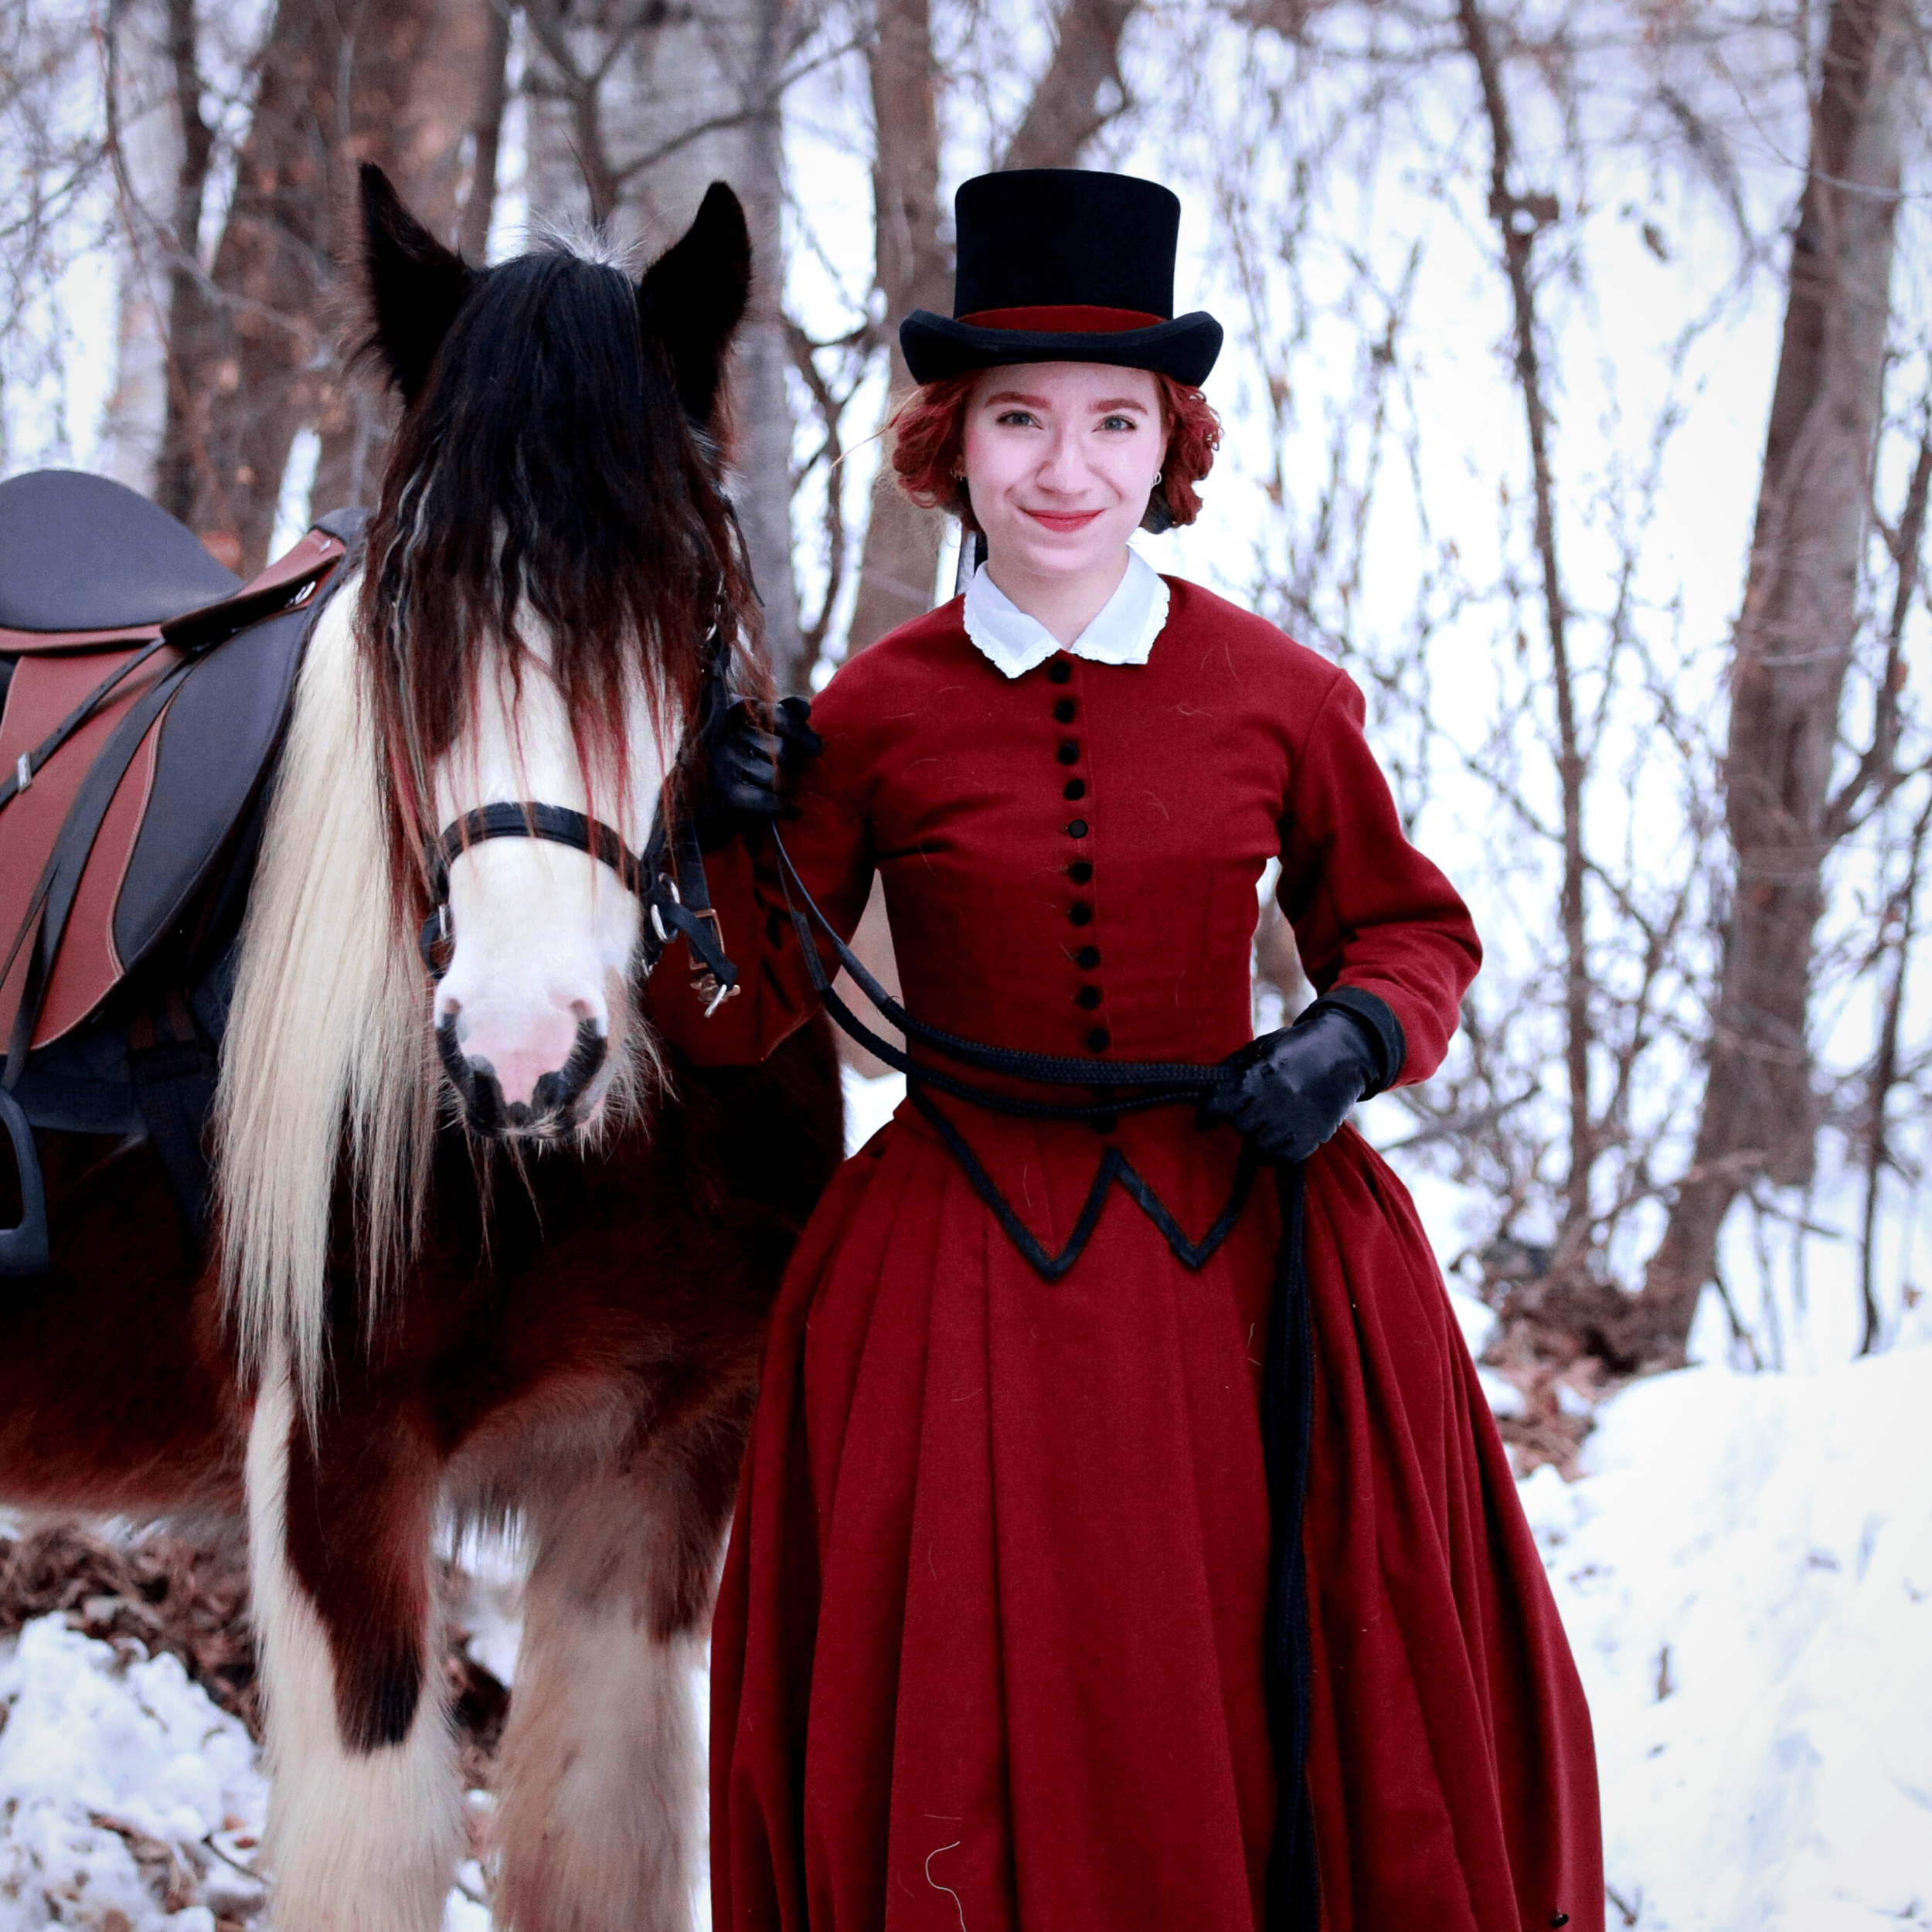
What's a bored historical costumer to do when introduced to an adorable Irish Cob horse? Sew a Victorian riding habit, of course! Horseback riding clothes changed during the Victorian era with the fashionable silhouette; this riding dress is an 1860s style made in wool. I made this costume using modern and historical sewing techniques, as well as sewing a Victorian petticoat and lace collar, and decorating a riding hat to match. Then, I mounted up for some Victorian equestrian adventures-- and gratuitous horse cuddles.
Sewing for historical equestrians
Historical riding habits have several things in common no matter what time period they’re from : They take stylistic inspiration from the menswear styles of the historical period, and they’re usually made in wool. Wool is a perfect material for outdoor historical athletic wear, and this rust-red wool flannel from Dorr Mills was comfortable even in cold Minnesota winter. The sharp lines and top hat are all inspired by mens’ fashions of the mid Victorian era. Finally, this habit features an unusually long skirt (almost as long as I am tall!) to drape artfully over the horse and keep the wearer’s legs covered. Ryker, despite having no experience with riders in skirts of any kind, was so calm about it! I had a wonderful time taking this habit out for a spin, so much so that I didn’t even mind washing the horse hair out of it afterwards.
-
1860s riding habit script
I would like to preface this video by saying I am not a horse person, I think I’d met horses maybe twice in my life before? I was in the Frozen North, staying with my friend Sara, we’re over at her brother/our podmate’s house, and her sister-in-law says “Want to come to the barn and meet my new horse?”.
This, is Ryker, a very young little fur-ball who wants nothing more in life than pets and cuddles. He’s an absolutely precious Irish Cob, a type of draught horse known for their chill temperament and extreeeeme fluffiness. They’re bred and used by the Romani of the British Isles, so there are a variety of other names for them— many involving a word I am not prepared to use, and a debate I am not prepared to wade into. Please see above, I’m not a horse person.
What I am, is a historical costumer, and at the time a rather bored one. So when I got to chatting with Ryker’s human mom about my sewing, she goes “oh my gosh, you could make historical riding clothes and we could put you on my horse!”
“Sure!” I say, having zero equestrian experience, zero experience making riding clothes, and zero access to my usual workroom.
So what is a riding habit, other than “a special dress for riding”? Historically, these outfits tended to follow the fashionable shape of other dresses, with a few key differences. Wool was the usual material, good for being outside in cold weather, and dark colors were best because they didn’t show dirt as much. Skirts were often extremely long, to keep the rider’s legs covered (and drape dramatically over the horse). They also used masculine styling and decoration, to the point where in 1666, the English diarist Samuel Pepys said “ . . . I find the Ladies of Honour dressed in their riding garbs, with coats and doublets with deep skirts, just, for all the world, like mine; and buttoned their doublets up to the breast, with periwigs under their hats; so that, only for a long petticoat dragging under their men's coats, nobody could take them for women in any point whatever . . . “
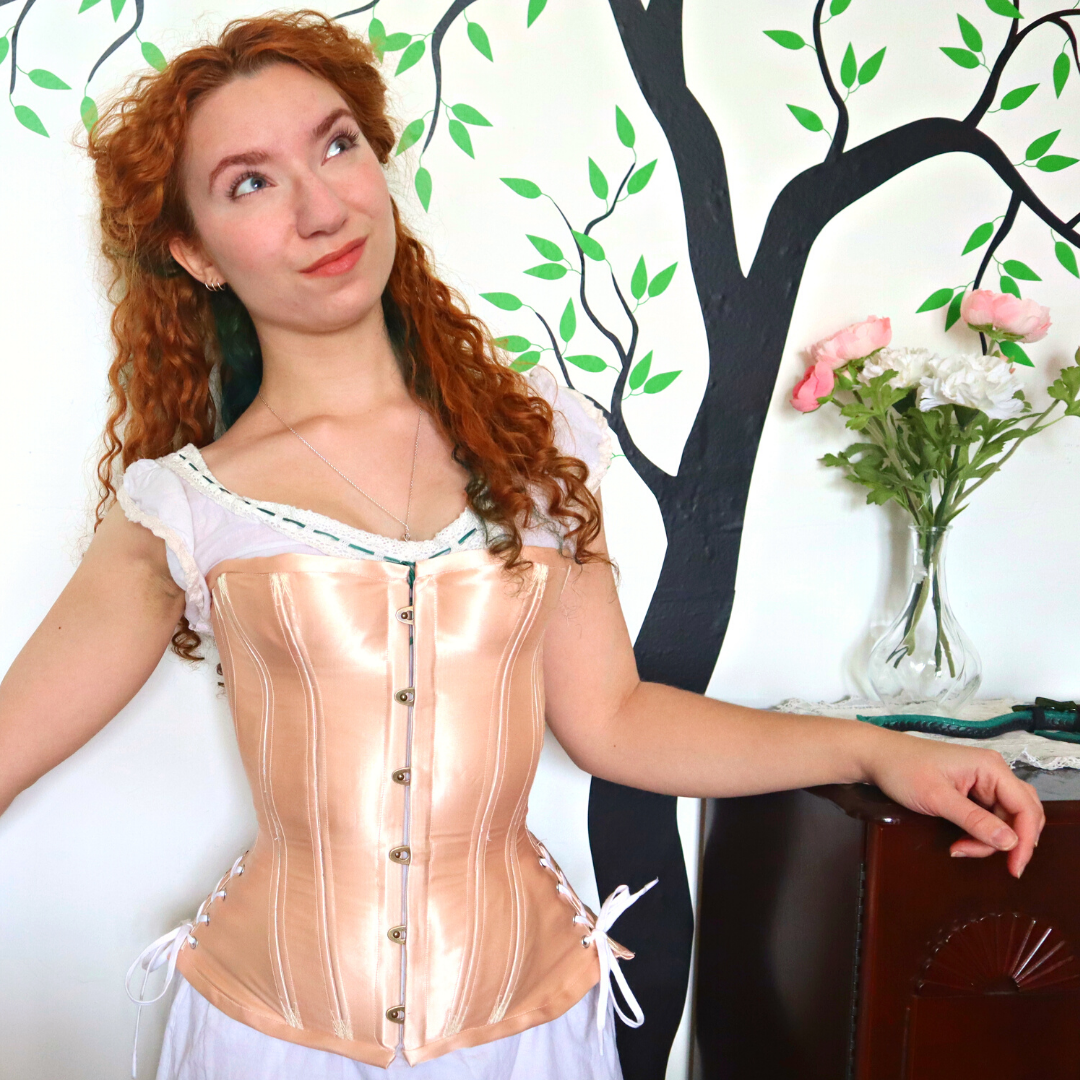
The only foundation garments— corset and underthings and such— I had with me, were my Victorian ones. So I chose a time period I’m comfortable in and started with the Truly Victorian 1861 Dress Bodice. Skirts at that time were so simple I won’t need a pattern.
This russet wool from Dorr Mills was on sale, so I bought five yards.
I’m immediately grading the sleeves down half an inch on each edge, since they’re bigger than I want. A compass is great for this, or for adding seam allowance!
The wool is folded lengthwise and then all the pieces are cut out, so I’ll have perfectly mirrored right and left sides. I’ve also cut out some crisp cotton muslin to use for what’s called “flatlining” : laying identical pieces in a firmer material on top of the dress fabric, then basting them together and treating them as one piece so the garment has the right weight and texture.
I need to transfer these dart markings to the muslin, and I don’t have transfer paper with me, so instead I’ll draw over the lines in tailor’s chalk, flip the paper facedown onto the muslin, and press on the lines to transfer them with . . . whatever’s on hand.
Now I can finally start sewing. All of the bodice pieces get flatlined, using long stitches and a small seam allowance to sew the muslin layer to the wool. I’m using a little trick to finish the center front edges, by sewing just that edge, then flipping it all inside out before I keep flatlining. Now the front edge is encased and I don’t need to do anything else to it.
Putting a mid-Victorian bodice together can be deceptively simple. My first proper historical costume was a gray cotton dress in a very similar shape, and as a baby costumer I struggled so much with it! Now that I’ve had a little more practice, assembling this dress bodice was a breeze.
The front is fitted to the body with darts. I like to baste down the center line before I fold them, to stop the layers from slipping.
The two pieces of each sleeve are sewn together, and a double row of gathering stitches goes at the top, or “sleeve head”, to fit them into the armhole. Of course, it helps to sew the shoulder seams, otherwise there is no armhole . . .
There’s a notch in the bodice front showing where to match up the inner sleeve seam. I pin that spot first, then flip the bodice inside out around the sleeve and pin it the rest of the way in. Once the sleeve is pinned everywhere but the gathering stitches, I pull on the threads to gather up the extra fullness, and pin it all in place.
Sewing in sleeves is always fiddly because the seam is so small and curved. They’re most people’s least favorite thing; I just try to be patient with them.
Victorian bodices had a little bit of boning in them— not to act like a corset, just to keep the shape and structure fitting right. I’m measuring each seam, then cutting a piece of cable tie boning to the right length and sanding the corners smooth. They’re placed in super-simple muslin casings, and basted onto each bodice seam by hand.
I finished the bottom edge of the bodice with bias tape. Since there are so many pointy bits, this was a fussy and prickly process involving a lot of mitered corners and stabbing myself. I don’t actually know if I bled on it, but, it’s red, so neither will anyone else!
And finally, I added hand-sewn buttonholes to the center front closure. A very helpful viewer has confirmed that machine-buttonholers didn’t exist until the 1880s, and I think these are prettier . . . even if the thread does tangle all the time.
There were four yards of wool left after cutting out the bodice— and this is not because of any skill as a dressmaker, this is literally just because I’m tiny. I’m tearing it into three equal panels to create the skirt.
The front section is pleated down to half my waist measurement, much like an 18th century petticoat with a flat center and pleats pointing towards the back. I’m using large pleats so there aren’t too many bulky layers of fabric.
Once the two back panels are sewn together, I’m going to “gauge” or “cartridge-pleat” them, a method that fits a huge amount of fabric onto a much smaller waistband. They’re seamed together, the top edge is zigzagged and folded under half an inch, and marks are made every half inch along it. The pleats are made by sewing two rows of running stitches that line up exactly, so when the threads are pulled, the fabric stacks up into perfect even folds. The two back panels are sewn to the front, and then the front is set into a folded waistband that will encase the top edge of the knife pleats. The cartridge pleats are attached with whip-stitches that sew each fold to the edge of the waistband. This is how 120 inches of fabric gets pleated down to a human waist size.
The bottom edge of the skirt is also bound in bias tape, to protect it from wear. This skirt is a foot longer than floor-length on me, so I’m using some trim to loop it up for walking. A line of black gimp braid is placed six inches above the hem, with eight loops in it. A button goes 12 inches above each loop, to hike the skirt up to a more manageable length.
I’m going to make a petticoat to support the voluminous silhouette of early 1860s skirts. Four panels, each one yard long by the width of this 45 inch wide cotton, are all sewn up at the sideseams to make a very big tube. One end gets a quarter-inch turn-and-turn hem, and the other gets a row of gathering stitches on each panel. It’ll be mounted to a simple waistband, a long rectangle folded in half and turned under at all the edges. The waistband is marked off in quarters, to match up with each of the 4 petticoat seams, and the fabric between is pulled in to fit. The other side of the waistband is folded over the gathers, and after adding a fabric tie to each end for a closure, the whole thing is topstitched together in one go.
Then, I starched the hecking daylights out of it so it wouldn’t be flattened by the wool.
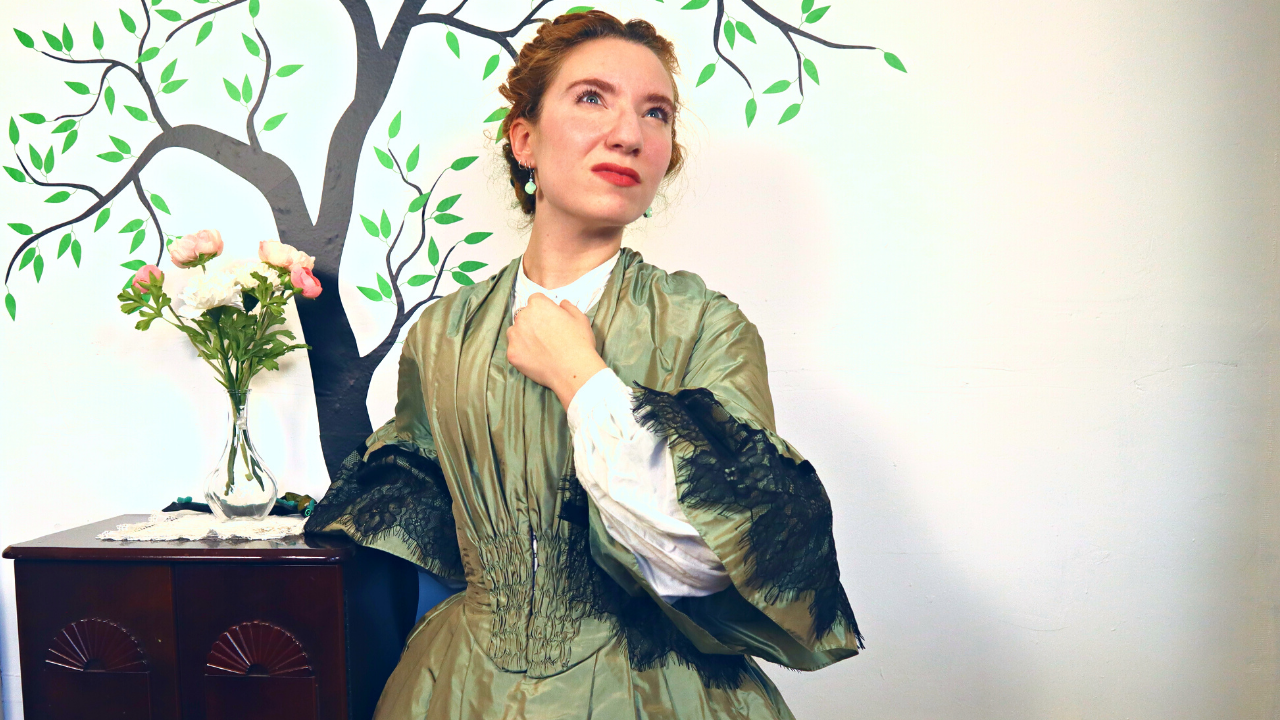
I’m not a big accessories person, but I need a couple before this outfit is done. Decorative collars of white cotton or lace were often worn with high-necked bodices like the one I’ve just made. The pattern is just a rectangle, with a slight curve on the neckline edge. The border is finished with a cotton lace trim. To tie it on, a length of double-fold binding is sewn to the neckline edge.
I also need a hat—and since riding habits borrowed masculine style elements, this means it’s accurate to wear a cute top hat! This one is wool felt and about 6 inches high, and I’m removing all the decoration it came with.
Sheer veils were often added to riding hats. I have some black silk chiffon on hand, so I’ll hem a long rectangle of that to use. This black velvet will be sewn up into a bow to attach the veil under. And some of the very little leftover red wool has been felted up to make a hatband that matches the dress.
It was finally time to go get this habit covered in horse fluff and dirt! We gave Ryker a good brushing and got him all prettied up, then brought him out into the arena for some playtime. I let the skirt down to its full length, mounted up . . . and Ryker, being the chillest of horses, was completely unbothered by the strange new flappy thing all over him.
I’m riding astride because no one at this barn does sidesaddle. When your skirt is this long, it doesn’t matter! Just, uh, don’t wear split drawers.
Ryker’s really young, so trotting is as new for him as it is for me! He did really well, and his human mom is very proud.
Safety is important! Riding hats are cute but will not protect your head. Sara’s leading us because working outdoors is new to Ryker, and it’s pretty icy.
I hope you enjoyed watching this little interlude of horseplay! If you’d like to see more videos about historical sewing and fashion history, click the subscribe button, and leave a like while you’re at it. And if you’re here for the cute horse, uhh, please don’t judge me for being new? Also, Ryker’s human mom is convinced I’ll make him internet famous, so share this with your friends and help me not disappoint her! I’ll see you in a few weeks for more stitchy business. Until then, happy sewing~
More Like This