A Victorian hoop skirt with no hoops?!

A Victorian hoop skirt with no hoops?!
A Victorian hoop skirt isn't impossible to move in, but this corded petticoat will be much easier! I’ve worn more traditional hoopskirts before and they’re not as bad as they’re made out to be. But even a steel crinoline petticoat is too much for me (my back problems have serious hoop skirt trouble), so I decided to sew a corded petticoat to take the place of a crinoline under my Victorian crinoline dress.
What’s the difference?
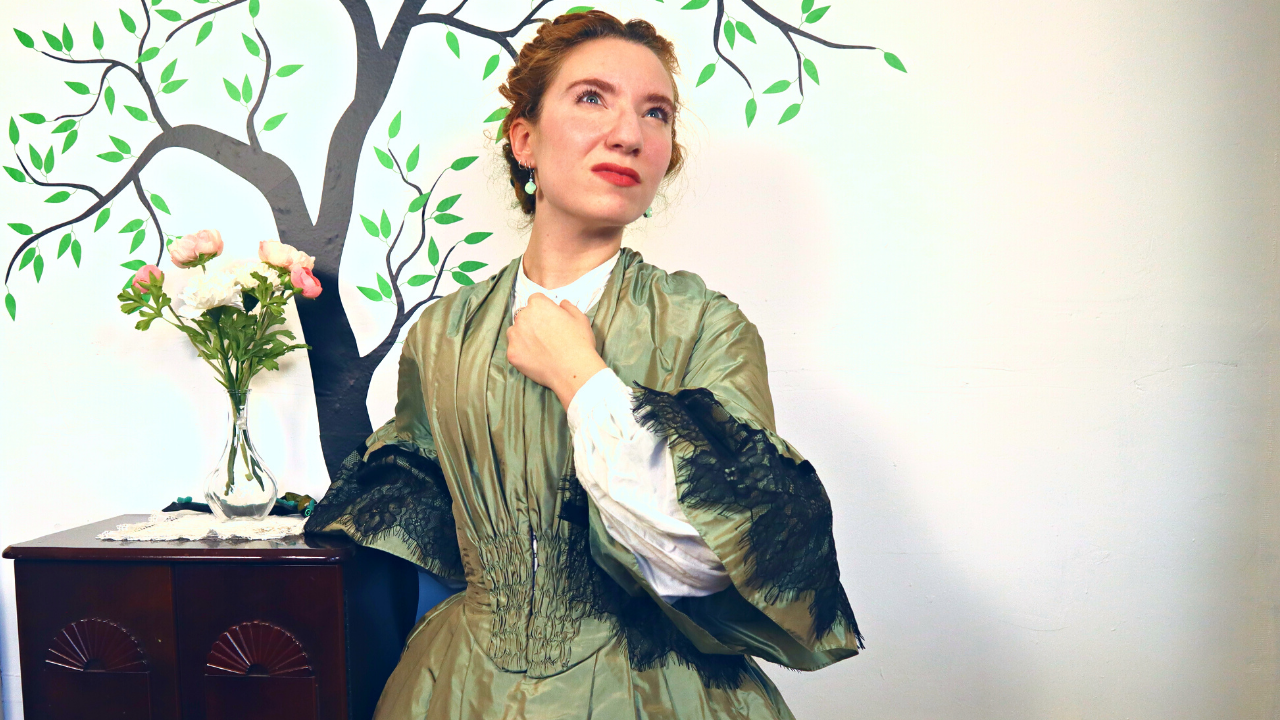
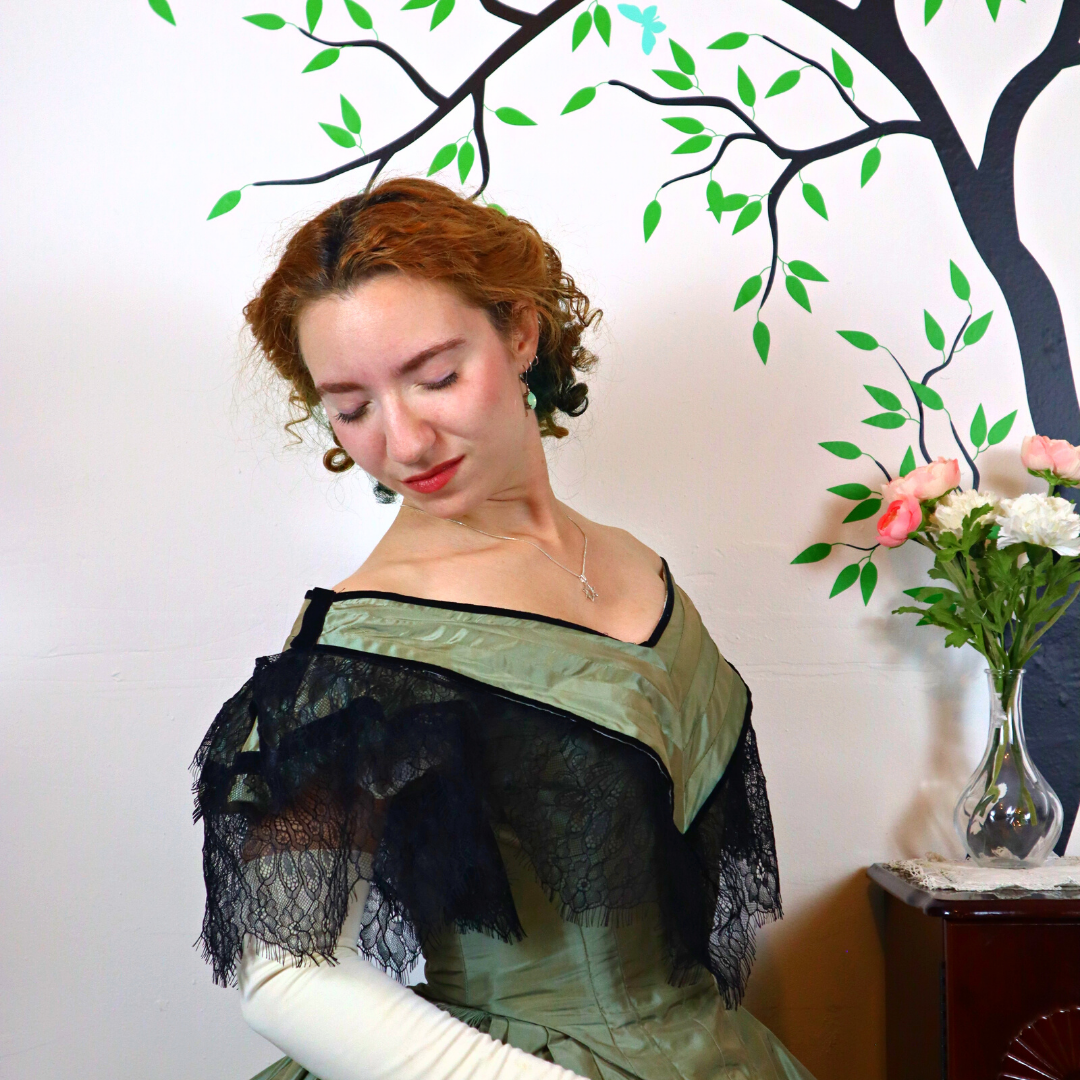
Cage crinolines, made of flexible spring steel, allowed Victorians to have a fashionable silhouette without being weighed down by 6 layers of starched petticoats. A Victorian petticoat could be 5 yards around, so they were heavy! Making a Victorian petticoat with historically accurate cording would be even heavier than a cage crinoline hoop skirt, so I used lightweight foam welting cord for this corded petticoat tutorial. After wearing the same dress in hoopskirt vs petticoat, it's obvious which is more comfortable. This corded petticoat will be perfect to wear under the "Daniel Deronda" dress project, an evening dress or ball gown which might have been worn by one of the main characters in that novel. Sewing a Victorian petticoat can be quite a process, so I hope this helps! If you would like the corded petticoat pattern, that's available on my Patreon.
-
I spent all of my 2019 season at Dickens Fair in a hoopskirt, and, let me tell you, it was not easy. Crushing into tiny bars . . . dancing with strangers . . . all the things the pandemic has made us terrified of. That isn't to say the Victorians were confined to their fainting couches and unable to do anything at all in hoopskirts. Spring steel cage crinolines were a considerable improvement on either of the other options, which were "six layers of heavy starched petticoats" or the severe social consequences of being considered too poor or too tasteless to dress well. They're still not objectively lightweight or easy to move in, though, especially when you have two medical conditions that give you chronic back pain. Dickens Fair is currently canceled in every sense of the word, but since I'm not letting that get in the way of my plans to sew myself a mid-19th century evening gown, I'm gonna need something else to make my skirt go floof.
Cage crinolines, the mid-19th century garments we think of as "hoopskirts", were patented in 1856, but the fashion for giant bell-shaped skirts had been around since the 1830s. Even 6 layers of plain starched cotton petticoats isn't going to get you that kind of volume. The usual skirt support was a "corded petticoat", which had rows of cord or thin rope sewn into it to add stiffness. But, if you think about wearing nearly 50 yards of rope suspended from your waist, that's still really heavy. Even ordinary heavy skirts give me back spasms, so I was going to have to think of something else.
My initial plan was to do sort of a hoopskirt-corded petticoat cross by sewing cheap, flexible plastic boning into a petticoat. This would be lighter than steel, but when I mentioned this idea, Adrienne of Miss Philomena told me about this stuff called "welting cord" which is used in upholstery and boats. It's a stiff sort of . . . foam cord?? I think is the best thing to call it, and it weighs nothing. A corded petticoat made with this should be much more flexible than a steel cage crinoline, and a fraction of the weight of a petticoat corded with cotton rope.
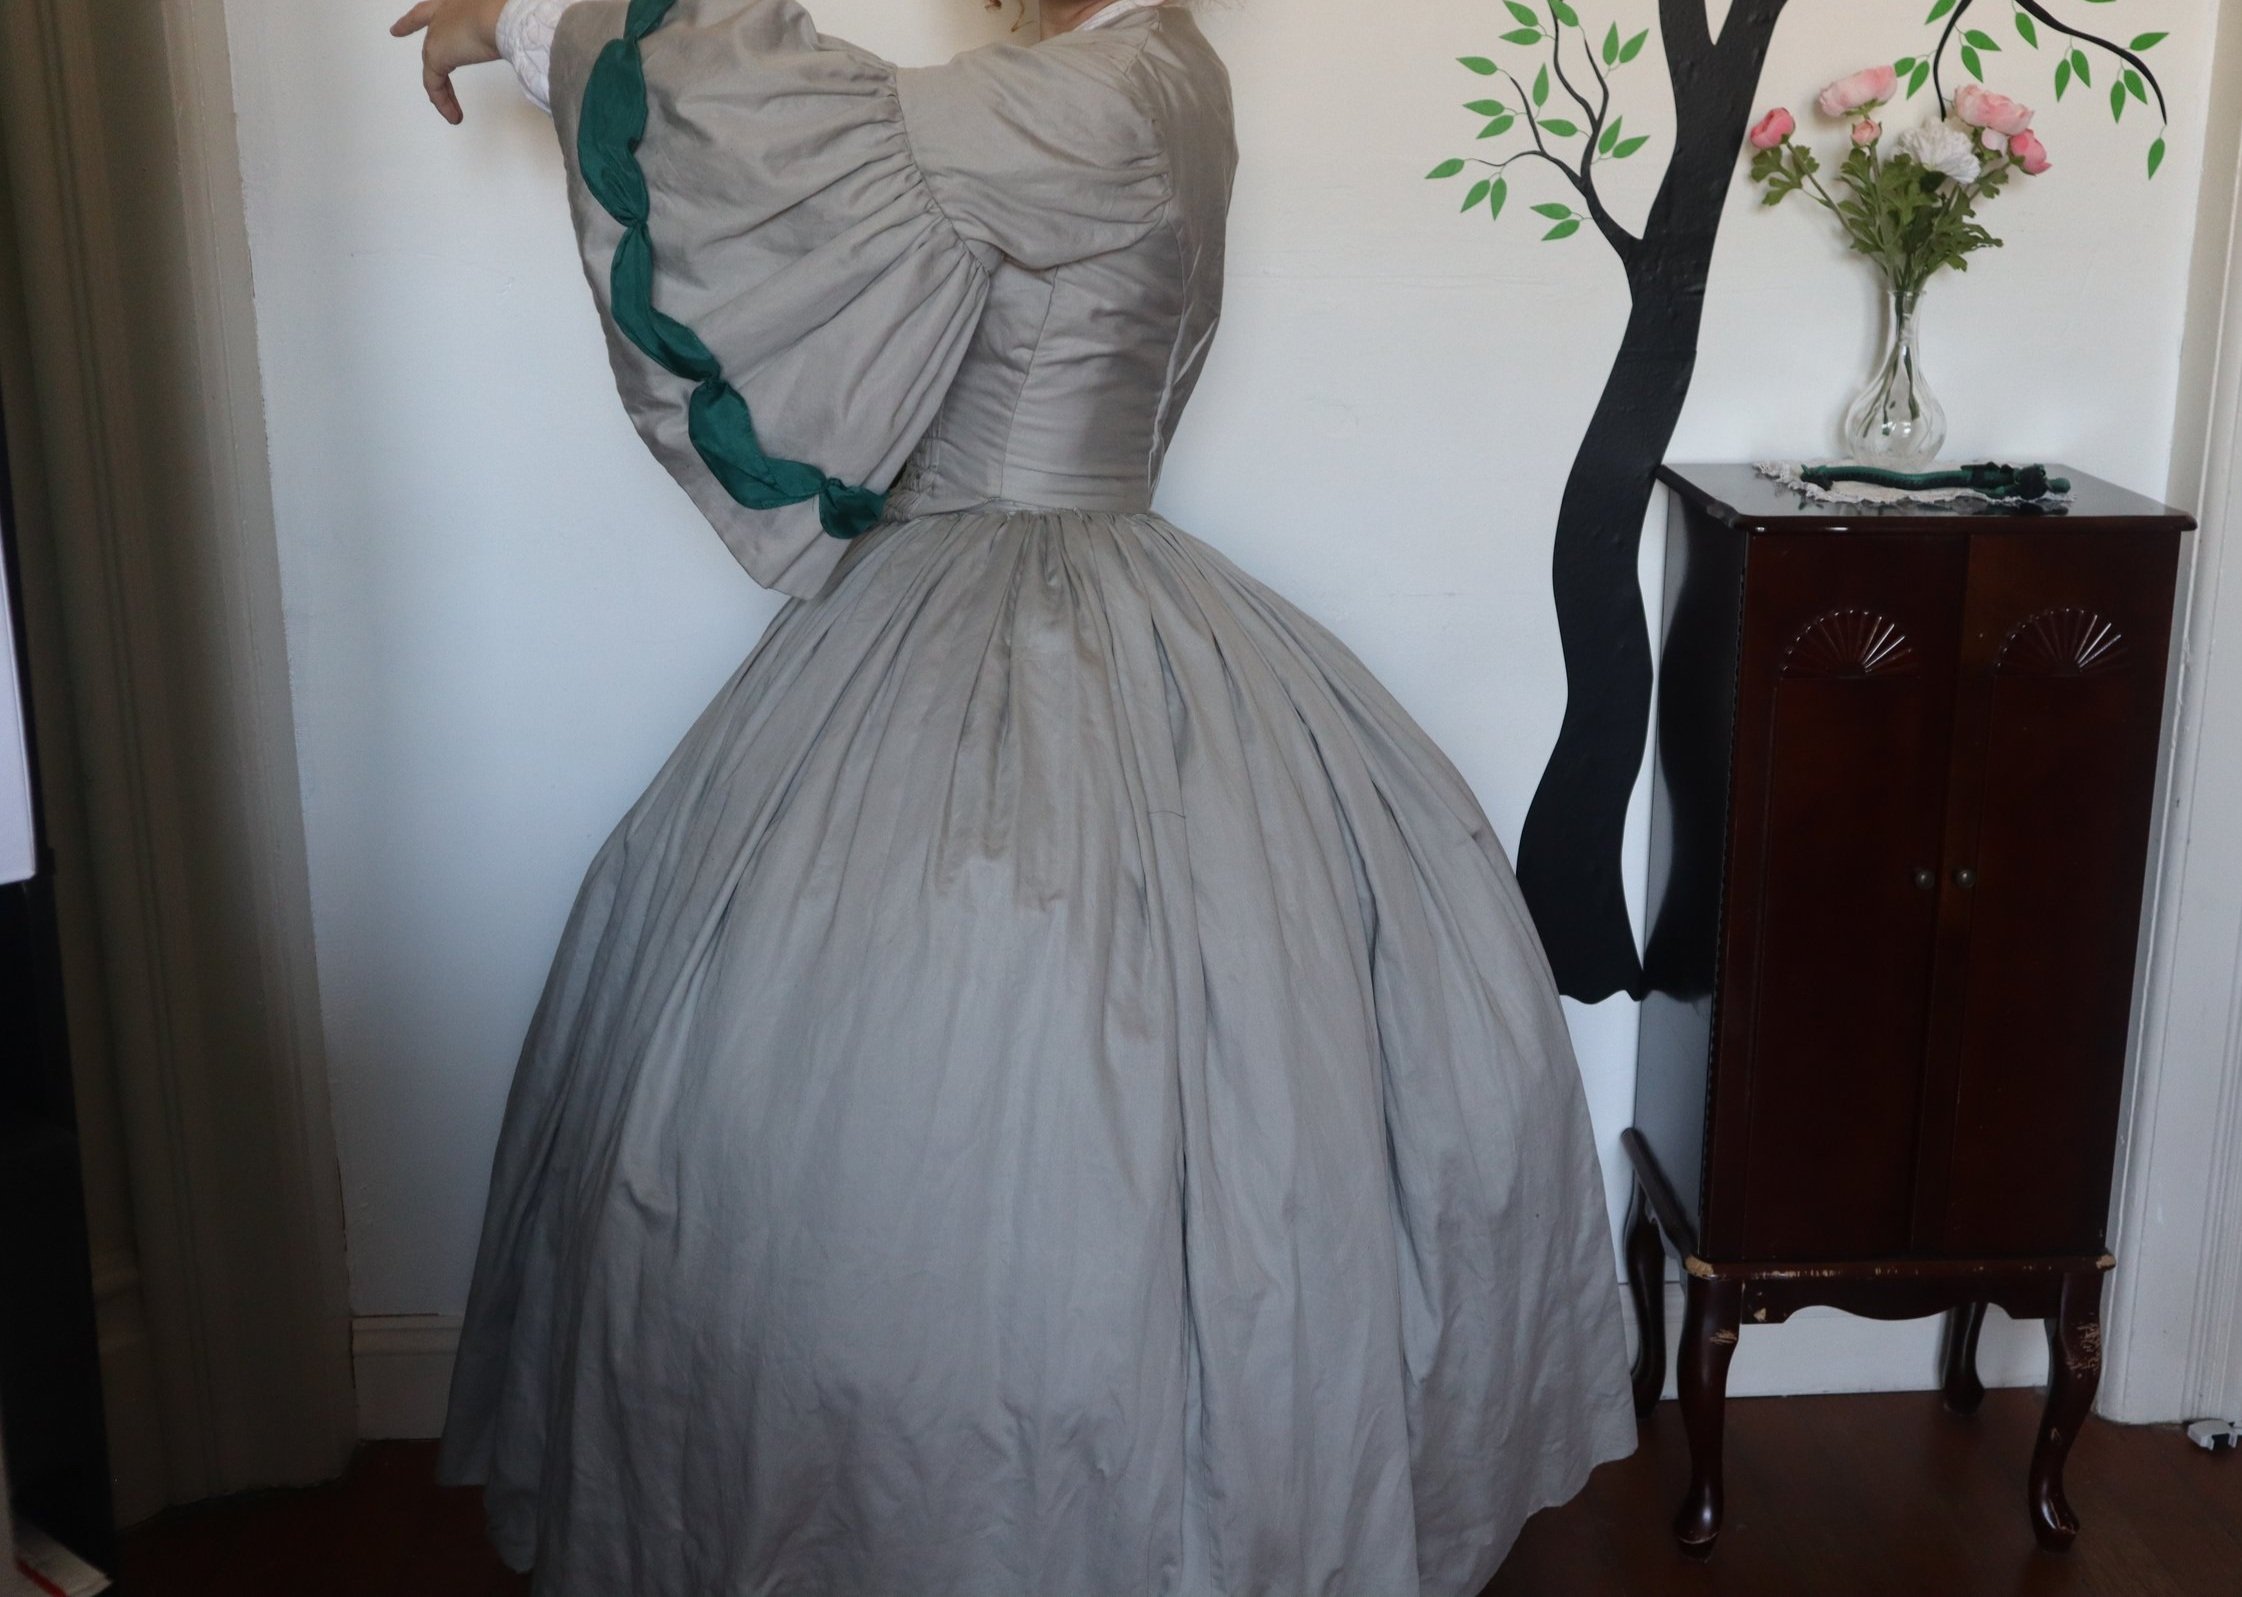
The petticoat itself will be made from two lengths of stiff cotton organdy, which I spent an entire video waxing poetic about last time I sewed a structural petticoat. 19th-century organdy was simply starched and nowhere near as papery and stiff as this modern stuff, but considering I'm using foam welting cord, the historical accuracy has already sailed and sunk without me ever getting on. The cording has to be sandwiched between two layers of fabric. I'm sewing together two rectangles twice the length I want the petticoat to be, into a giant tube that's 3 yards around. Then, the seams are pressed open, and the tube is turned halfway out to create a double-layered cylinder with the seam allowances all on the inside. I'm pressing bottom edge, in the hopes that this will stop things slipping and getting crooked when I start sewing the cording in.
Now comes the math. My 60-yard spool of welting cord would do 22 single rows of cording, but I wanted to group them together. I also wanted cording as high up as I could get it to create a good "bell" shape. After much calculation, I determined that on this 36-inch-long petticoat, I could do four triple rows of cording each starting four inches apart, and then 5 more double rows of cording each starting 3 inches apart. This would cover the entire petticoat, leaving around 7 inches of room for the placket. The pattern and cording diagram are available on my Patreon.
With the cording marked out, I could now begin sewing all 22 rows of it. Each set of cording was sewn in a continuous spiral. To start the next row, I run a line of straight stitches through the marked line, then begin the process all over.
The thing about this little cording foot is, you can have the needle all the way to the left or all the way to the right, and have your cording either all the way to the left of the needle or all the way to the right of the needle. But you can't have it in the center. So with my machine not right-aligning the needle, that means I can only do my cording with the corded piece on the left. So the upshot of that is I have to shove this entire stiff organdy petticoat into this part of my machine, because the cording has to go towards the hem towards the opposite side. So thankfully with every row I do there's a little bit less petticoat to be shoved in the inside. But this is not particularly easy to maneuver. And it's gonna weigh. nothing but this is a pain in the [loud bleep!]
I’ve already done three rows, so this is not nearly as difficult as it was with the first few. Shove the cording inside, smooth out the petticoat layers to make sure there's some room. Drop the cording foot, try to make sure the fabric is even. Then, turn on the machine so I don't accidentally sew through my finger any time in this process. I can use super long stitch lengths, which is nice, that makes it all go a little bit faster. But it's only now that I can start sewing and I have to continually just, stop, shove the cording, in try to make sure the layers of fabric stay something remotely resembling even with each other . . . and you can see why I’m essentially cording until I lose my mind.
As I progressed up the length of the petticoat, stuffing the un-corded material into the machine got easier, but wrangling the corded section became harder. The petticoat began to twist and curl up on itself until I felt like I was wrestling a sea creature around my worktable. This was some major foreshadowing, but in the moment all I could think about was keeping it from pulling my stitching off-kilter.
It's done. That's the last row of cording, and it is FINALLY done.
[headdesk, but it’s a sewing machine]
With what I thought was the hard part done, now I need to add a placket and a waistband. The top edge is finished with an overcasting stitch. Then, I can finish the opening by lining the sideseams in both layers, which have the seam allowances pressed open on the inside, and topstitching them in place. Splitting the sideseam up to the first row of cording creates an opening with finished edges.
I'll be attaching the petticoat to a waistband using cartridge-pleating or gauging, which prevents a very full skirt from adding bulk at the waistband. The entire top edge is marked off every quarter-inch, and folded under for reinforcement. Then, two or more rows of running stitches are made through those marks with heavy thread, so they line up perfectly.
The waistband itself is made in a sturdier cotton muslin. It's a simple strip with all the edges turned under, pressed, and then the whole thing folded in half. Before I topstitch around all the edges, I'll insert a piece of twill tape into each short end to tie the petticoat shut with.
Cartridge-pleated skirts have to be sewn to the waistband by hand . . . which is fine by me. Pulling on the two threads makes the skirt fold up into perfectly even pleats. Instead of inserting the skirt into the waistband, the fold of each pleat is whipstiched to the waistband edge.
Unfortunately, the petticoat was falling in very uneven bumps. Re-pleating didn't completely fix it, so I took inspiration from an 1890s skirt construction I'd seen in a PriorAttire video, and added graduated twill tapes inside of the top three rows of cording. The tapes scale between half and three-quarters of the petticoat circumference, and are attached in 10 equidistant places around the petticoat. That, plus an improvised heat gun and later a steam iron, finally got the welting cord to behave.
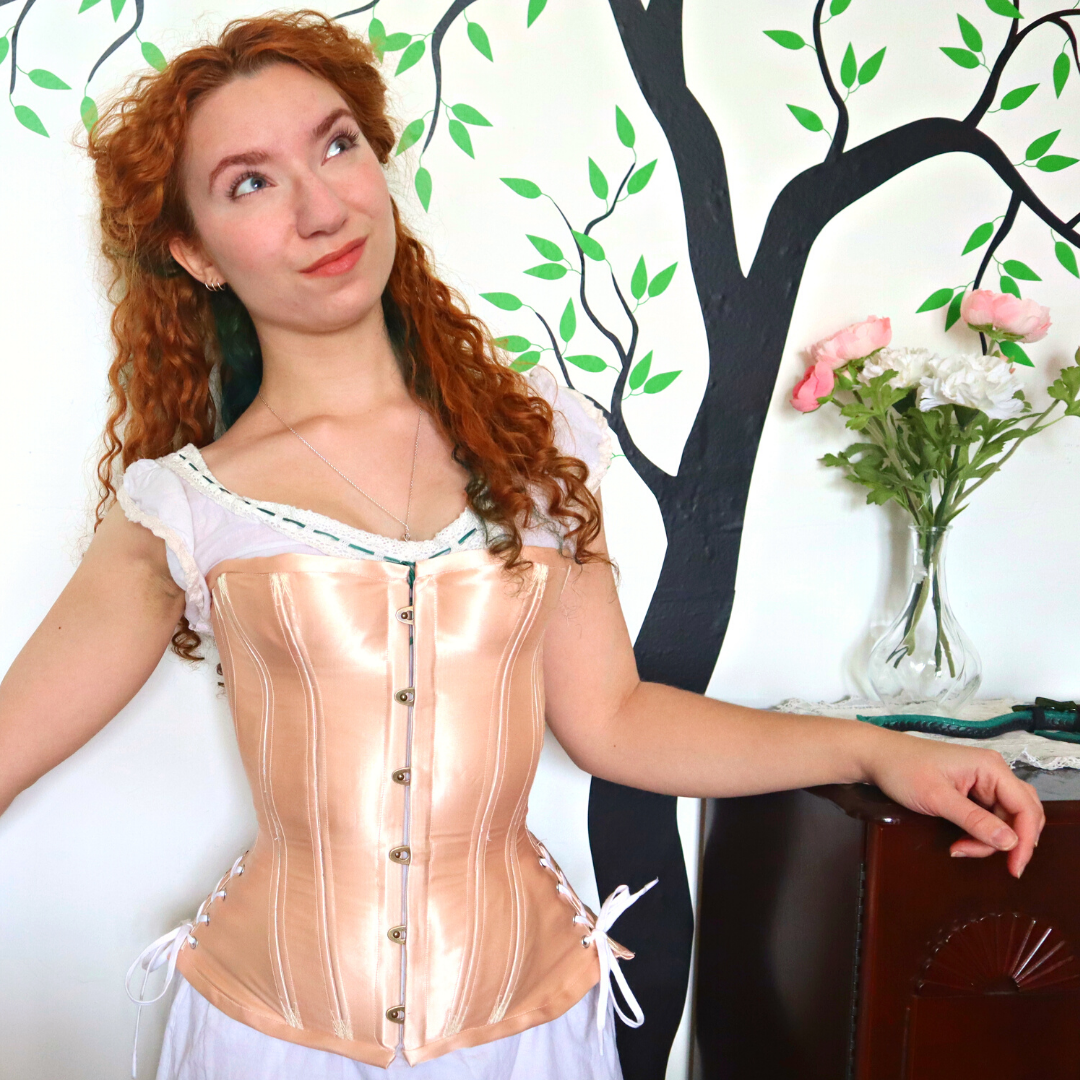
Let's begin in all the other 1860s underpinnings : Chemise, corset, and drawers. The corded petticoat goes on over the head, and ties at the waist. A plain cotton petticoat over it smooths out the lines.
For comparison, here's my gray cotton gown with no skirt supports. The skirt is extremely heavy, at 5 yards around, with fabric and lining both made from cotton sateen bedsheets. A modern tulle petticoat gives a little fullness, but definitely nowhere near enough for an 1850s or 60s look. With the corded petticoat, I get a great bell-shaped silhouette, and adding the tulle petticoat over top improves it even further while still being very lightweight. If I want even more of an 1860s back-heavy shape, I can add a bustle pad like my 1780s false rump underneath.
Tell me in the comments about your favorite historical-looking costuming hack! I'll see you again soon, when we'll start work on the new evening gown itself— unless I happen to have some interesting bonus content planned? You'll just have to subscribe and find out. Bye~
More Like This